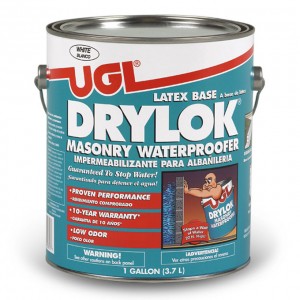
How to Drylock basement walls
Using Drylock on your basement walls is a great way to waterproof your basement and prevent future water leaks. Using Drylock is very simple here are 3 steps to help you achieve perfection when using Drylock on your basement walls.
Step 1 prepare the surface
Drylock works best on brick or cinder block walls that have not been painted yet! Be sure to scrape off any loose mortar or paint from your walls using a stiff wire brush. Make sure your walls are free from debris for the best results.
Step 2 patch cracks and holes
Next patch any holes and cracks that may be present in your walls. You want to use mortar when patching cinder block or brick. It is also important to make sure that any gaps or cracks in the area where the floor and wall meet are properly patched as well.
Step 3 apply the Drylock
For best results when applying Drylock to brick or cinder block walls you will need a 3/4 inch nap roller as well as a stiff nylon brush. A minimum of two coats is required to assure proper waterproofing. 1 gallon of Drylock covers roughly an 8 foot by 10 foot area. When applying the first coat of Drylock you will need to use your stiff nylon brush. While applying the first coat back brush the walls making sure that you fill in any and all pinholes with the Drylock. Allow the first coat to dry for the recommended drying time then apply the second coat. When applying the second coat use your 3/4 inch nap roller to roll over the walls assuring that you cover and more pinholes that may have popped up after the first coat dried. Once the second coat dries inspect your walls once more and fill in any more pinholes that you may see assuring that any and all holes are completely filled and covered with Drylock.
http://www.drylok.com/step-by-step/

